
Objective
The first step in developing the failure tracking and reporting in the Citywide involves creating the classification system that will be employed. It involves a two-step process: 1) defining the raw data (or variables) that will be used to define specific failures, and 2) combining the the raw data into concrete failure types applicable to various assets and their maintenance. The first step is covered here; the second step is covered in Failure Workflow. See Failure Tracking and Reporting for a complete overview.
Setting up the Core Components
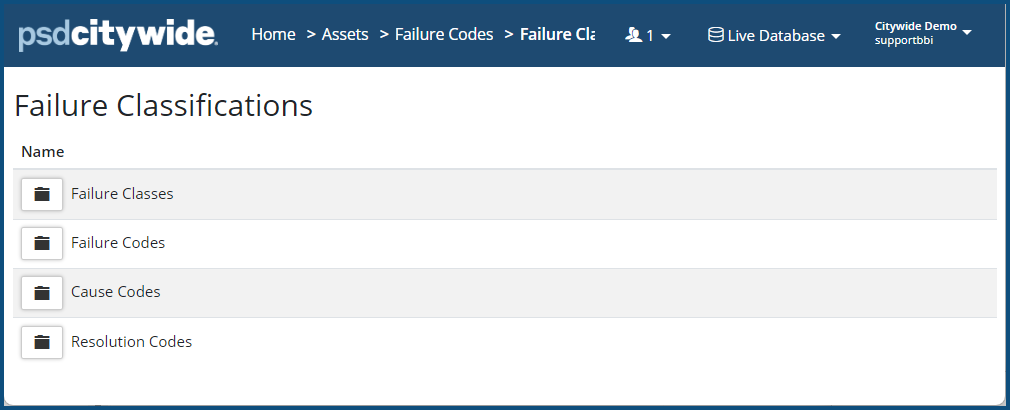
Failure classification consists of four logical components: failure classes, failure codes, causes, and resolutions. Each appears in an unexpanded folder at first:
Clicking on and any one of them expands it, showing existing data elements, which can be edited ❶ or deleted ❷, and/or where new data elements can be added.
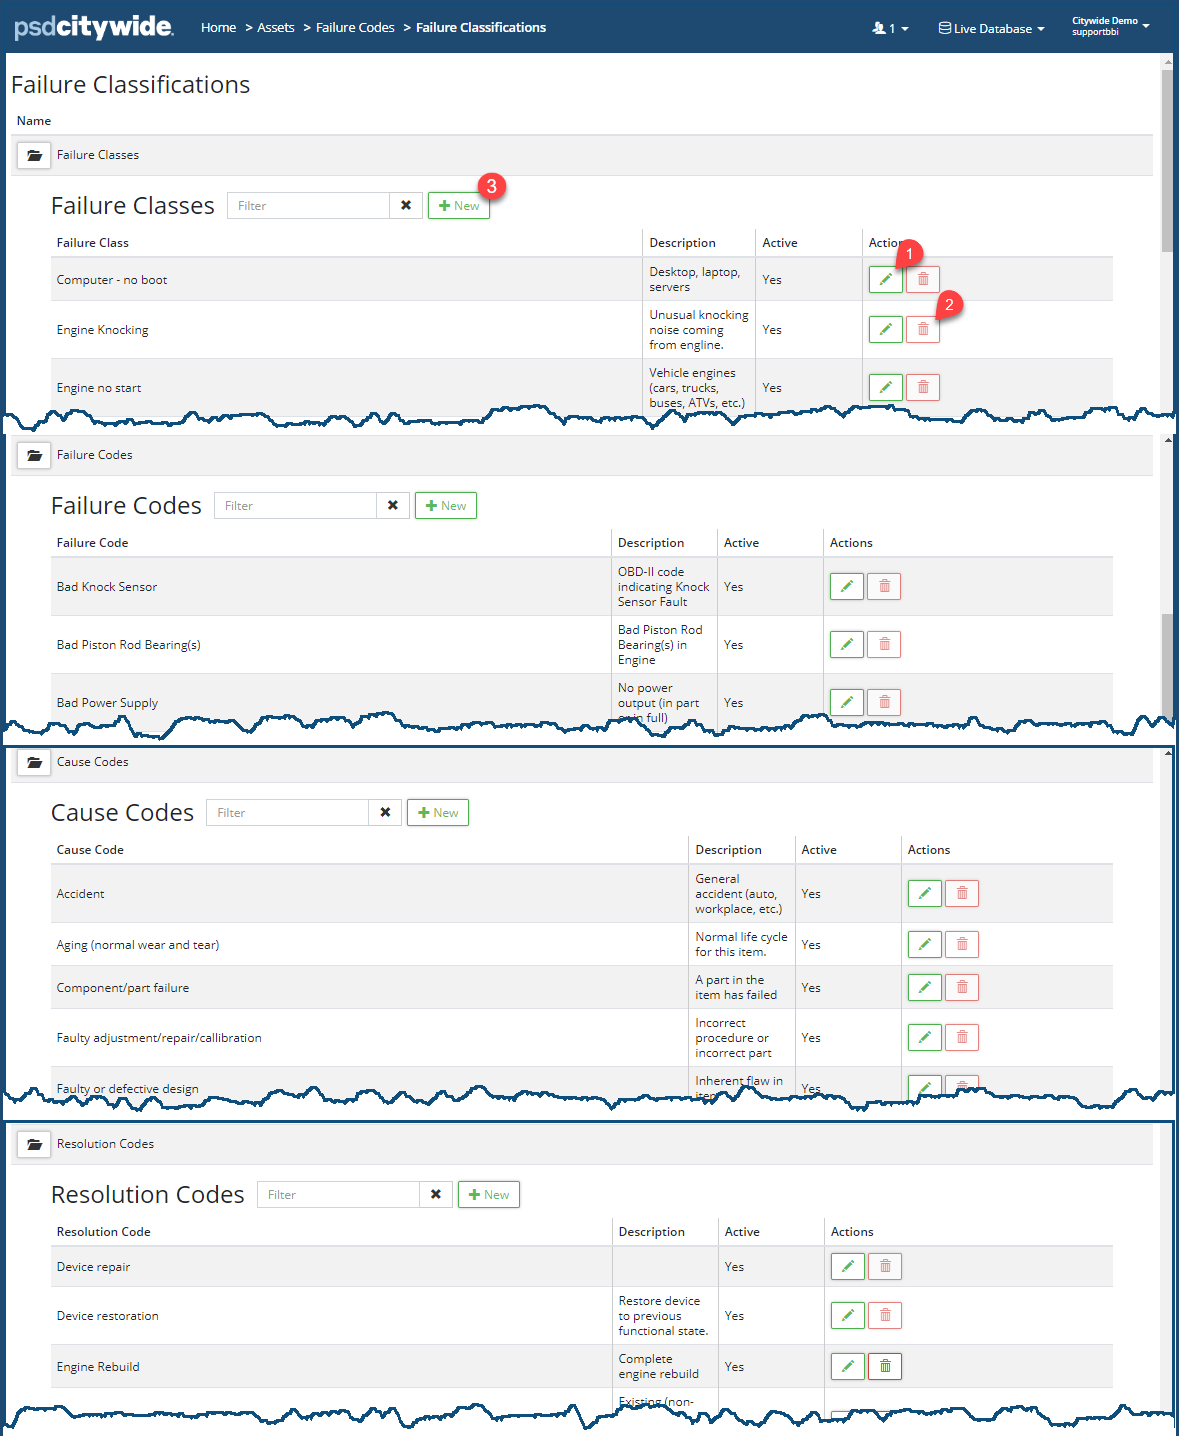
To add a new data elements to any one of these groups:
- Click on + New ❸ at the head of the group. A same dialog box containing the same fields will appear, differentiated solely by its heading, Here, for example, is the Add Failure Class dialog box:
- Enter a Name ❹ for the Class | Code | Cause | or Resolution.
- Enter a Description ❺.
- Select Yes ❻ to make this element active in the system; No if not.
- Click Add ❼.
- Repeat the above process for all the groups.


