Create a Custom View

Mar 31, 2025
Overview
Many of the grids within the Citywide platform allow users to sort and filter data right on the grid. Users can resize, re-order, hide/unhide columns and create custom views.
To toggle columns on/off in the grid view
- Click Customize Columns
 on the grid options toolbar located in the top right.
- Columns that are currently displayed in the grid are set to Yes.
- Navigate through the sections and click yes/no to display/hide the column in the view. Click Expand All/Collapse All,
 , in the top right to display/hide the options within the sections.
 - Click Apply when done. Citywide will update the grid to display the customized column set for the current session only. Once the User logs off, Citywide will revert the grid back to the original view unless the column set is saved and set as the default view.
To create and save a new custom view:
- Click Create New Column Set
 .
.

- Set the Save Order and Save Width flags to yes so that if columns are reordered or widths adjusted, the changes are saved within the view.
- Click Apply.
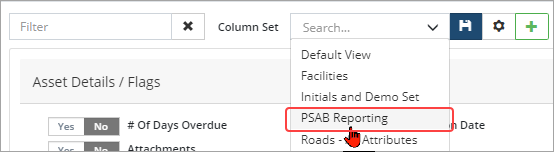
- Click the Column Set dropdown and select the name that was just added.
- Navigate through the sections and click yes/no to display/hide columns for the new view.
- Once the new view has been customized, click Save
 .
. - Click Apply.
- To set the view as the default, click Manage saved column sets
 .
. - Locate the view in the list, and click Default
 on the right. Click Close.
 - Click Apply. The grid will refresh to display the new customized column set. If the view is set as the default, it automatically loads each time the User logs into Citywide.
To modify an existing column set:
- Click Customized Columns .
- Ensure the correct column set is selected in the Column Set dropdown field

- Set additional columns to yes.
- Click Save .
- Click Apply (twice).
To delete a customized column set:
- Click Customized Columns .
- Click Managed saved column sets .
- Locate the view in the list and click Delete
 on the right. Click Remove.
 - Click Close.
- Click Apply.


