
Overview
Users with the appropriate permissions can link a work order to Parts and Material which then allows costs and inventory to be tracked. All linked parts and material can be viewed on the Parts/Materials screen.
Parts/Materials Data
To set up Parts/Material data:
- Navigate to Maintenance > Resources > Parts/Materials
- Click +Add Material

- Complete all the required information in the applicable fields
- Then click Save
To edit existing Parts/Material data:
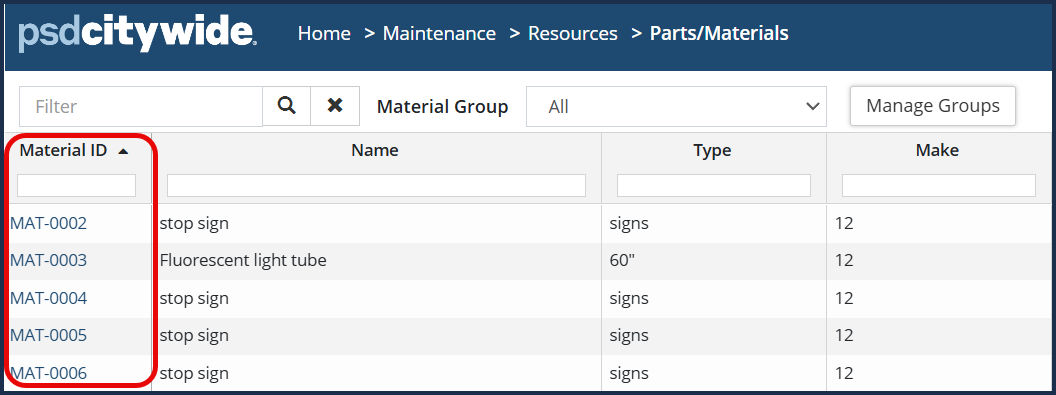
- Navigate to Maintenance > Resources > Parts/Materials
- Click the desired material in the Material ID column to view item details
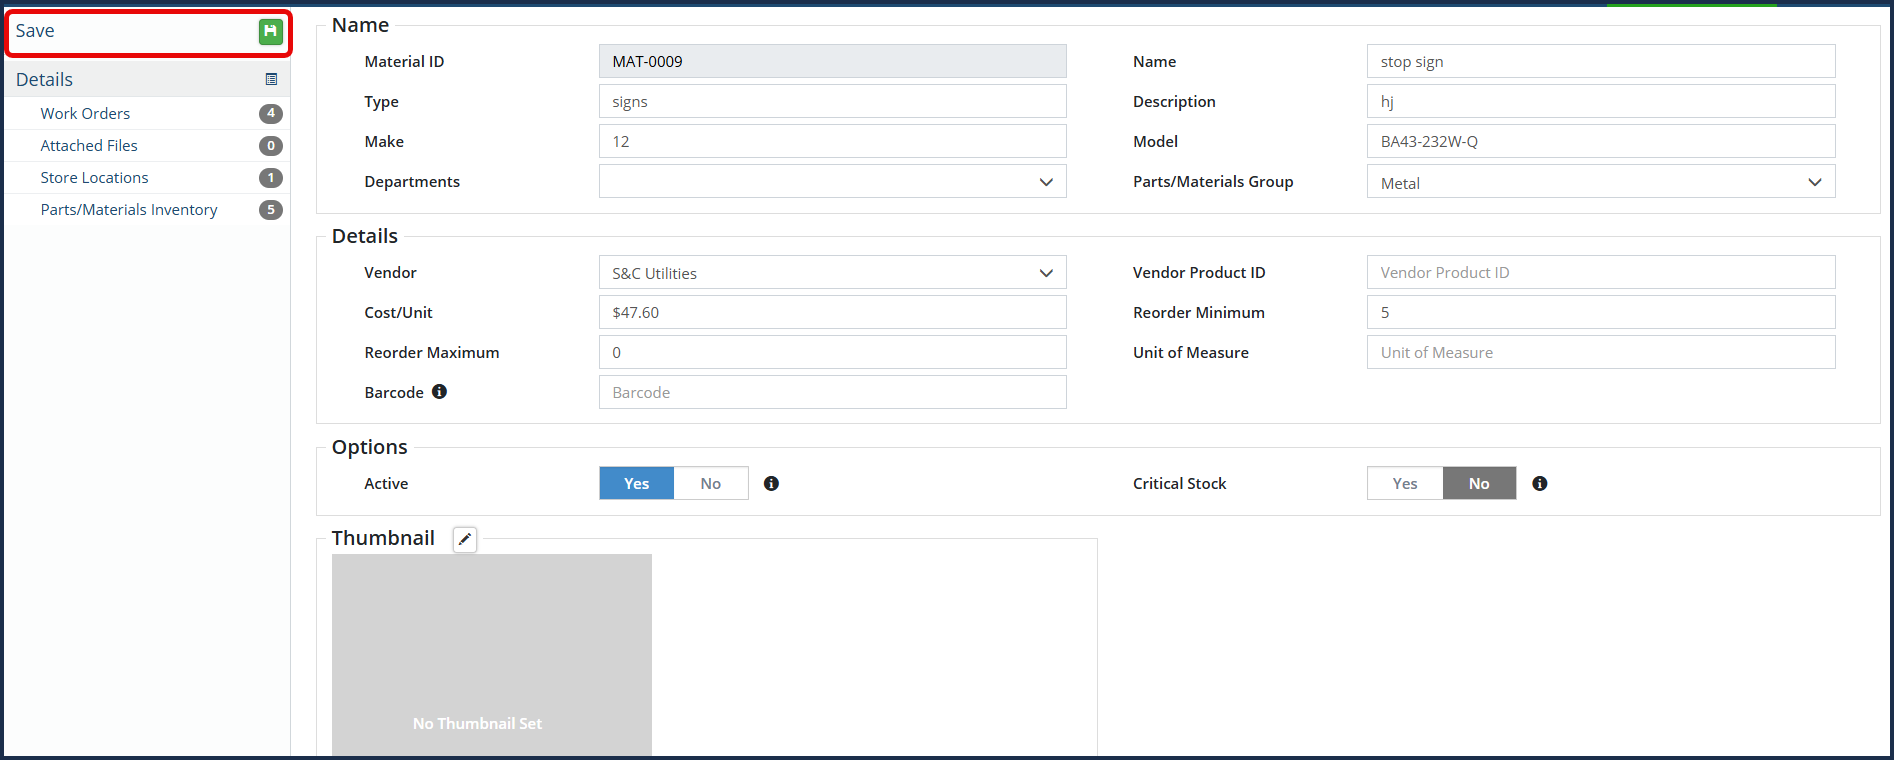
- Make the necessary edits on the applicable fields (ie. Cost/Unit)
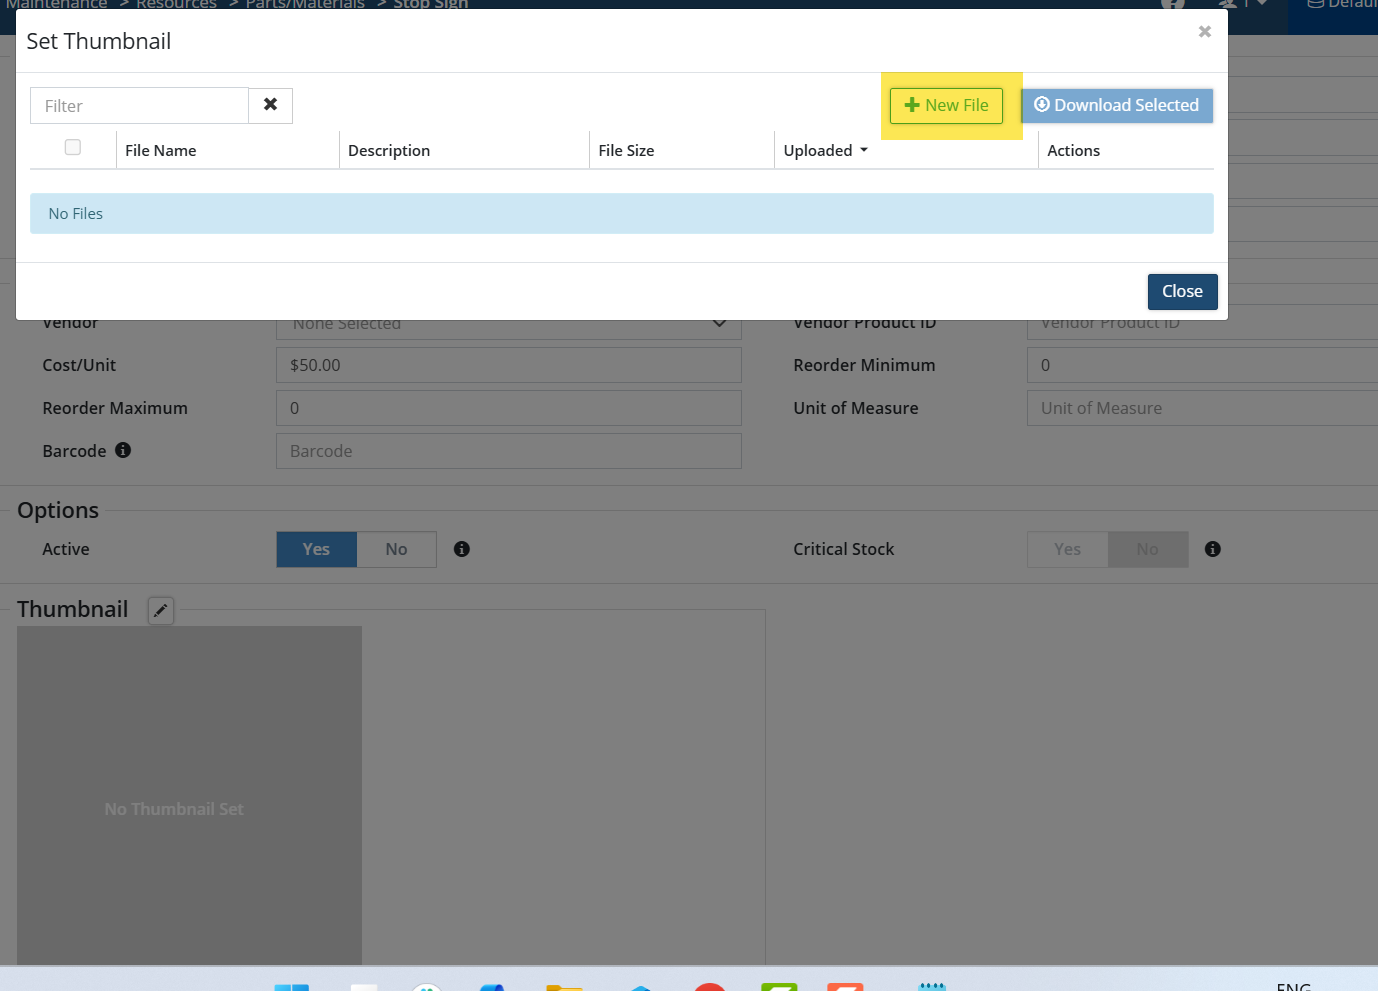
- Add a Thumbnail by clicking on the Edit button in the Thumbnail section and add a New File within the Set Thumbnail window.
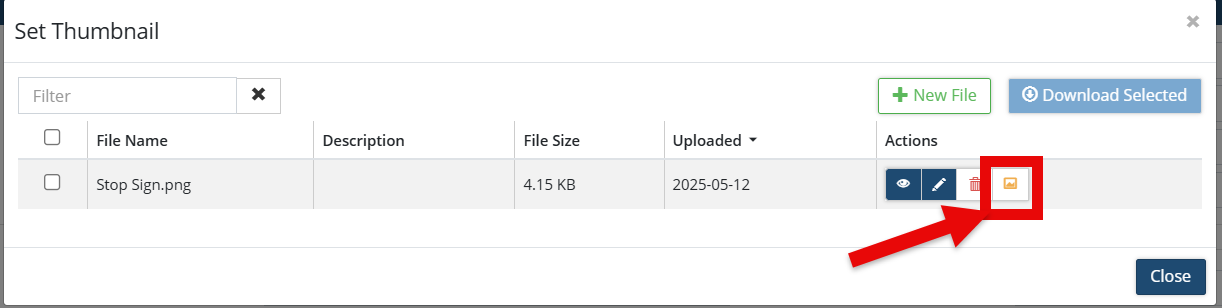
- Once Thumbnail image has been selected, click on Set Thumbnail.
- Then click Save
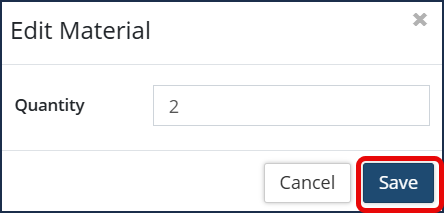
When viewing Parts/Materials assigned to Work Orders, you can view and edit the quantity of units assigned:
-
Click the desired work order ID
-
Click the edit icon
 in the Actions column
-
Enter the quantity of units as needed.
-
Then click Save.
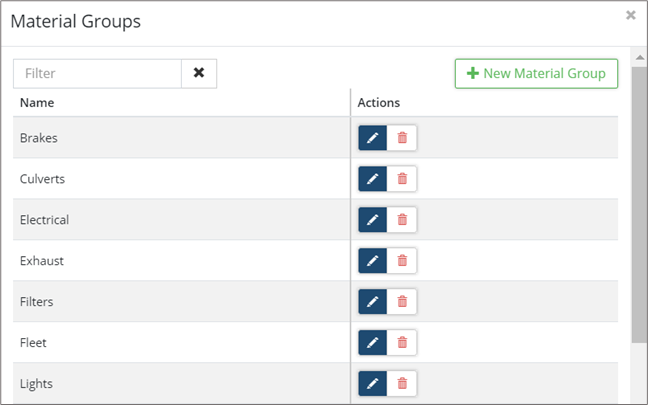
Material Groups
Create Material Groups to organize similar material items into groups for filtering purposes.
To create or edit a Material Group:
- Click Manage Groups on the Parts/Materials list.
- To add a new Group, click +New Material Group
- Enter a Name and click +Attach Materials to add items to the new group.
- Make your selection(s) ☑ and click Add Selected Item(s).
- Click
 to modify the group.
 - Click
 to delete the group.
- Click
- Click Add.
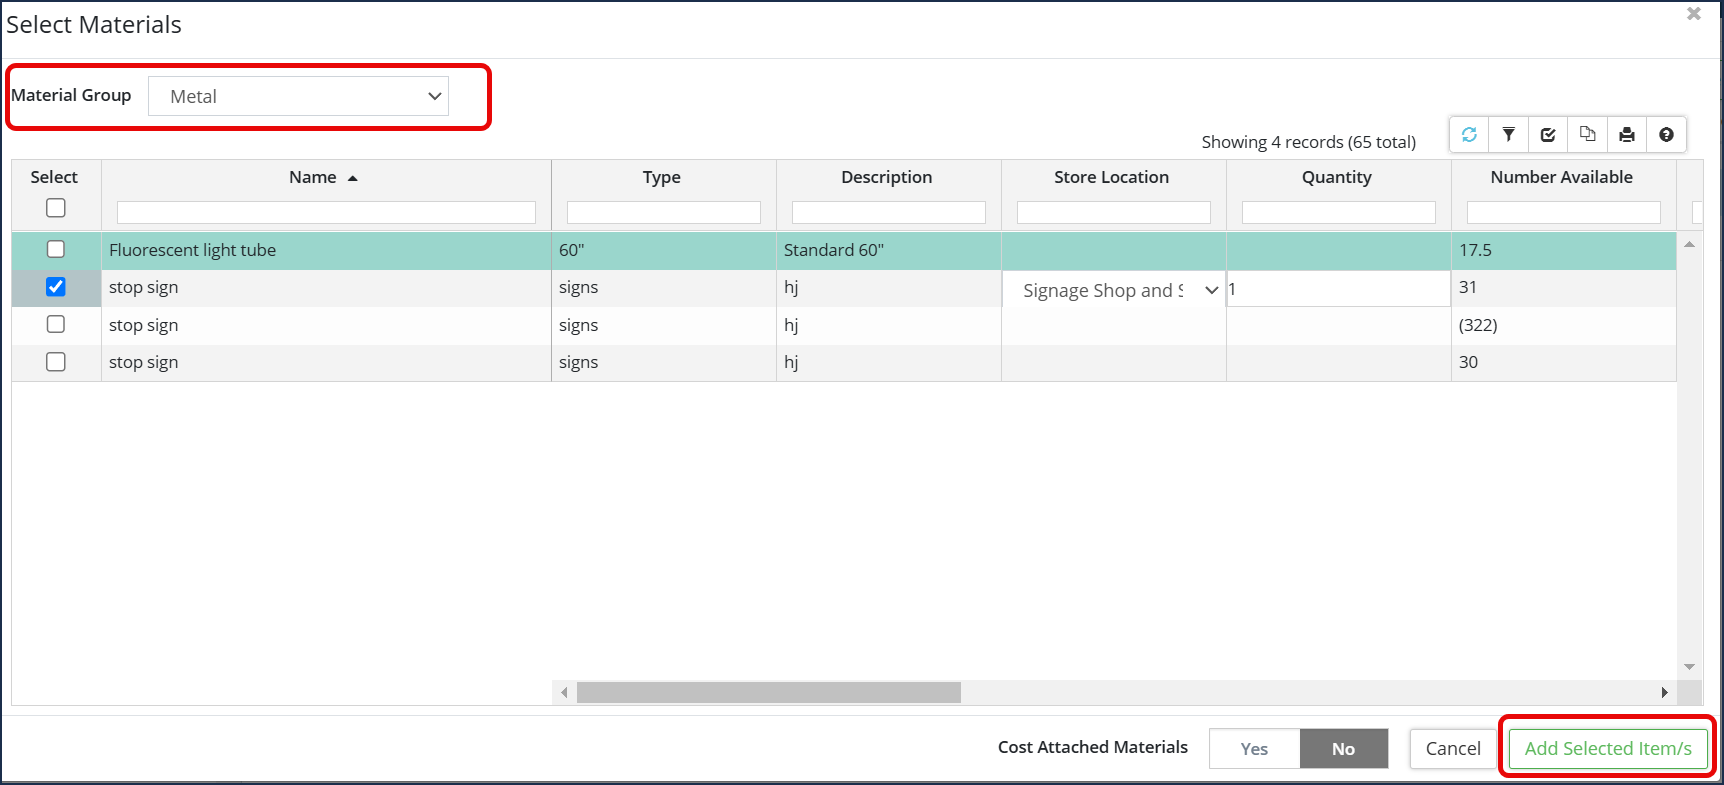
To select/modify material selection:
-
Click the +Attach Materials. Use the Material Groups drop-down to filter the list if needed.
-
In the Select column check 🗹 all required parts/material.
-
Click Add Selected Item(s)
-
Click Save at the top left corner of the affiliate panel to apply the changes.


