
Overview
A pre-consultation is a meeting held before submitting a formal planning application, allowing developers to discuss their proposals with municipal staff and other relevant agencies. It's an opportunity to get early feedback, identify potential issues, and understand the requirements for a complete application. Pre-consultation is a crucial step in the planning process as it saves time and resources in the long term. To view Pre-Consulations in the system:
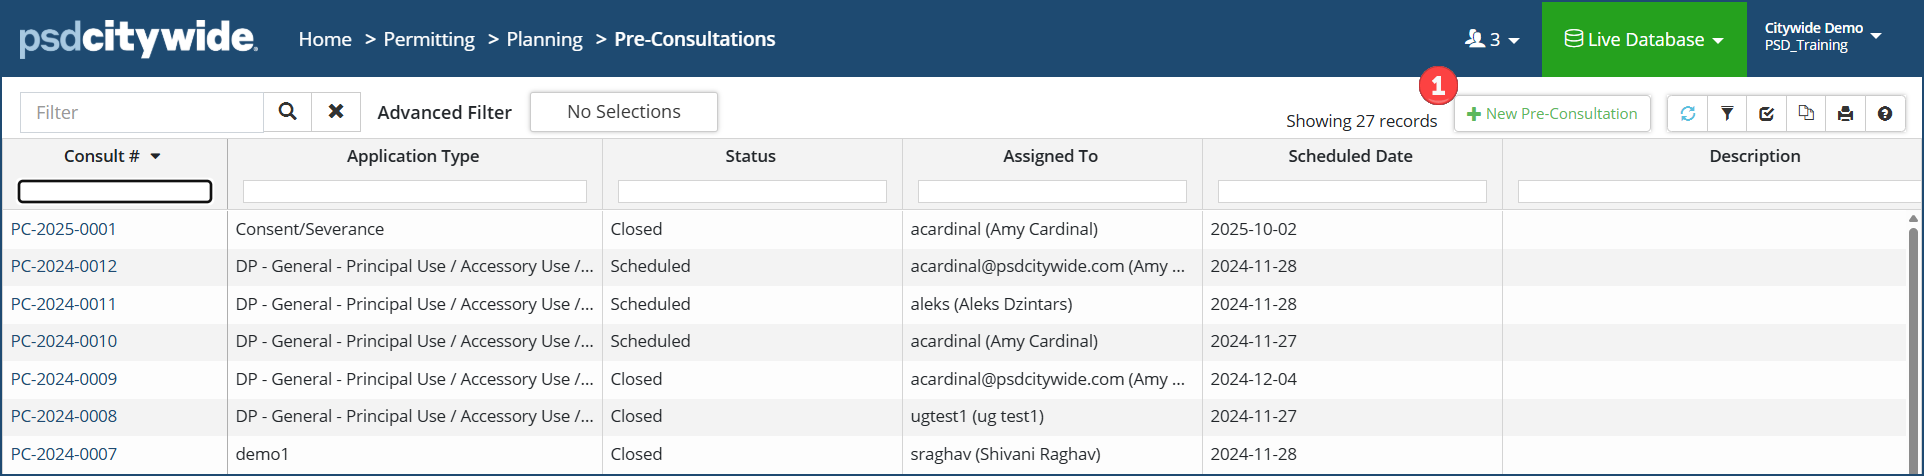
Navigate to Home > Permitting > Planning > Pre-Consulations.
Add a Pre-Consultation
Users with the appropriate permissions can create pre-consultations from the Pre-Consultation grid. Click +New Pre-Consulation ❶. The Add Pre-Consulation wizard appears:
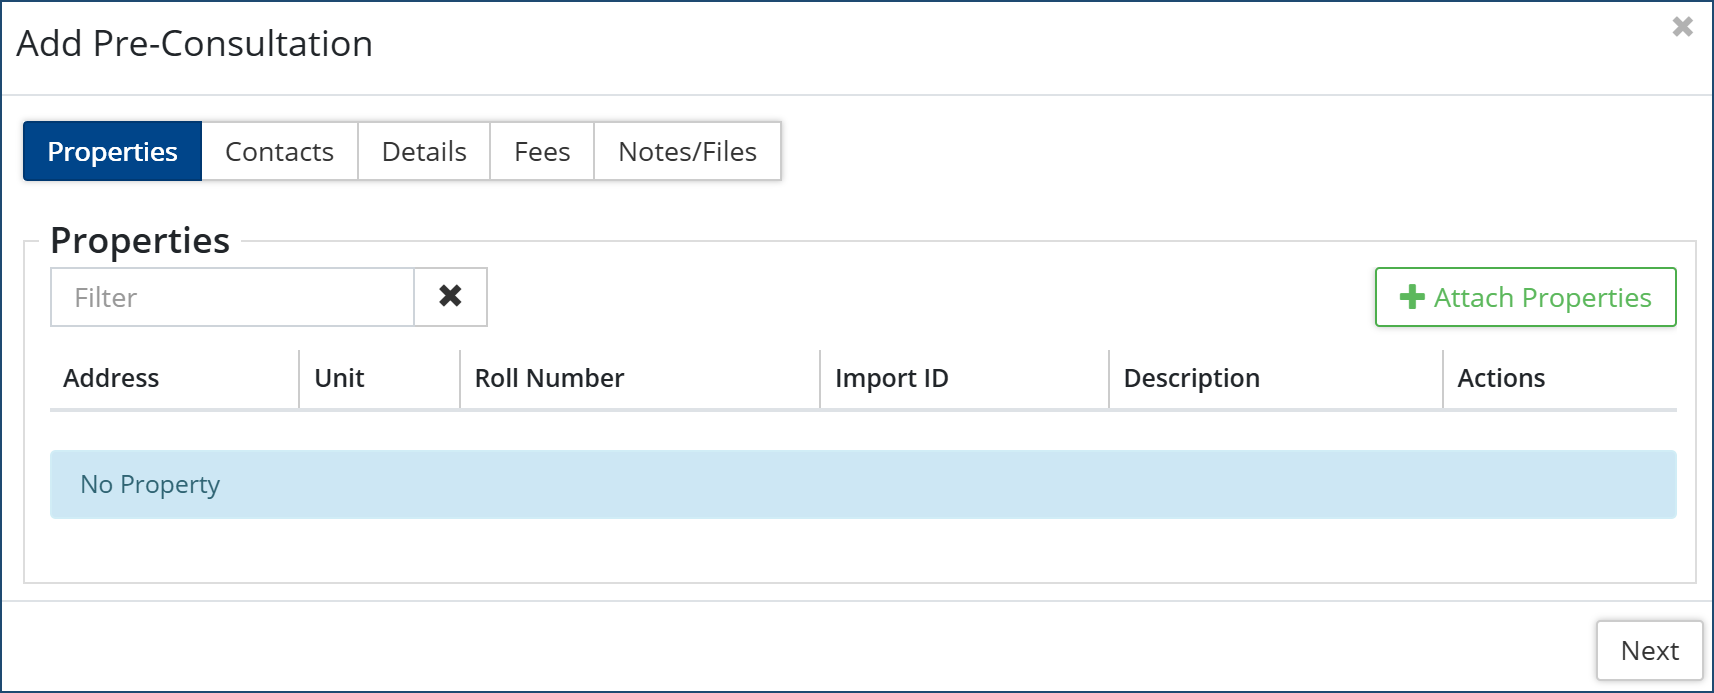
- Properties
- Click + Attach Properties, to attach the properties this pre-consultation pertains to.
- Enter full or partial information in any one of the fields on the screen and click Search or enter to produce a list of properties from which you can select from.
- Select the property or properties desired
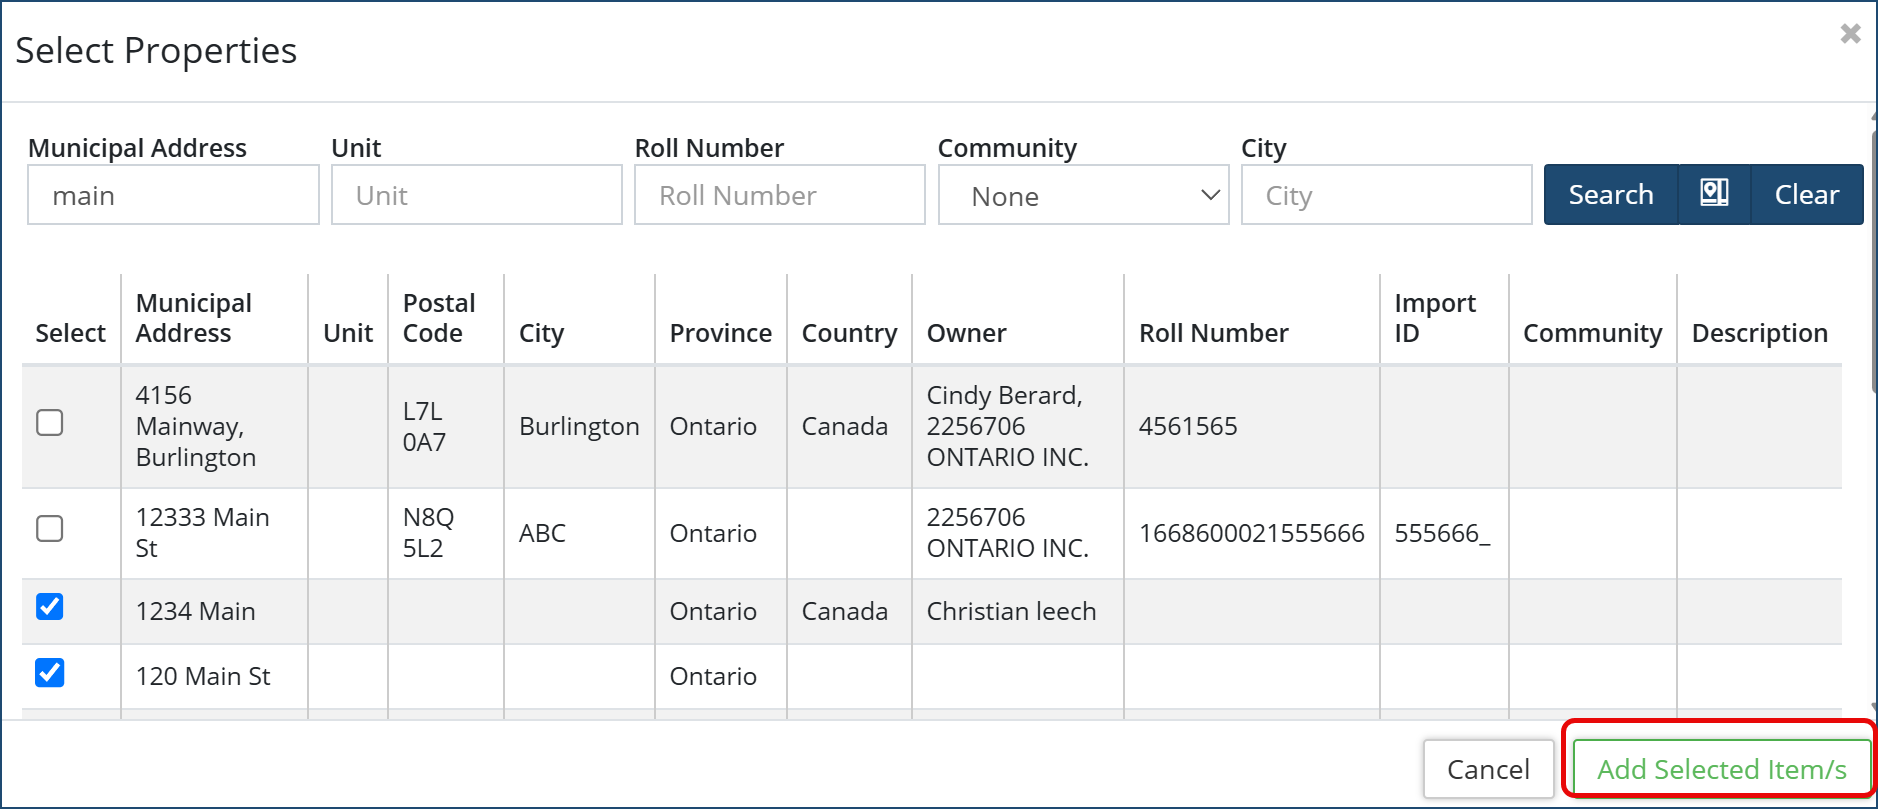
- Click Add Selected Item/s, then click Next
- Contacts
-
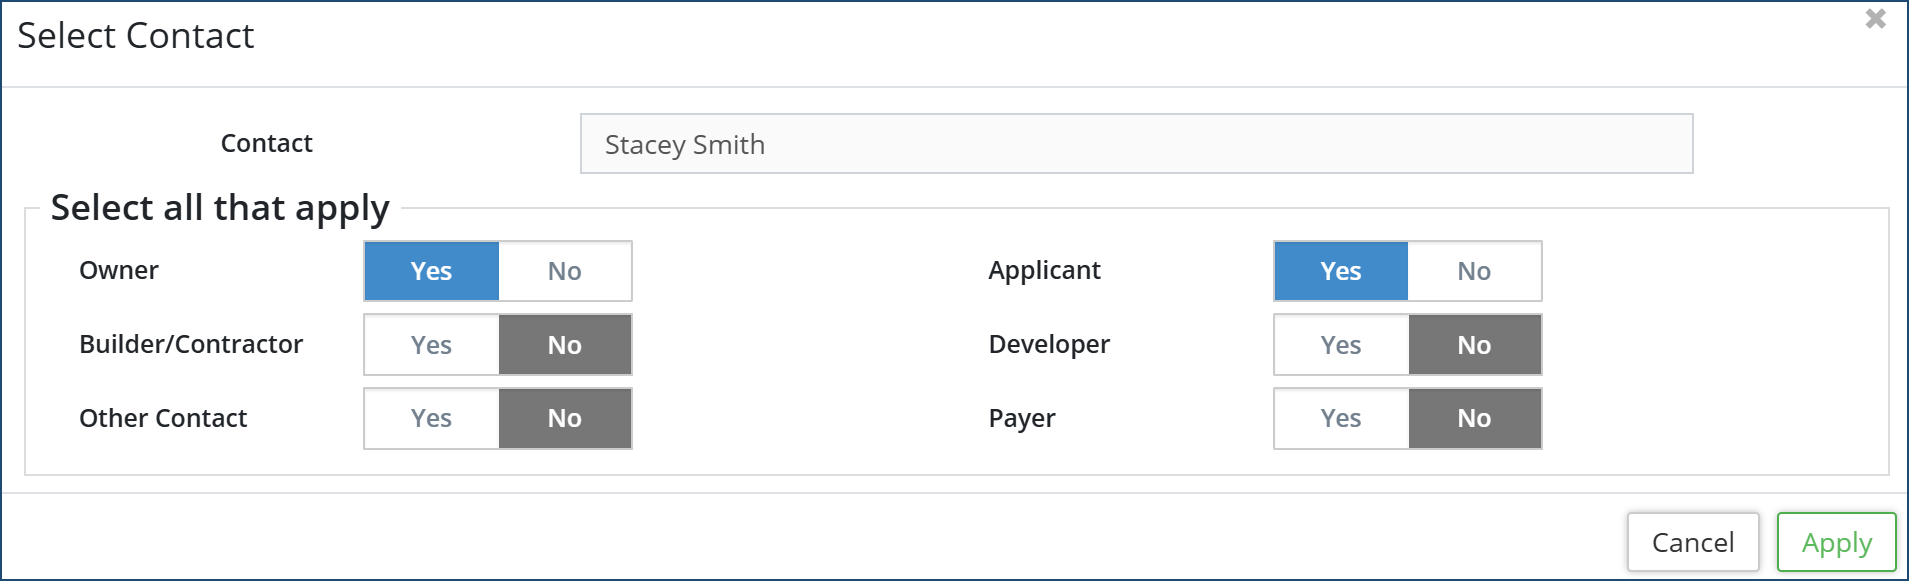
Click + Select Contact and use the search fields to find a contact from the customer database. Or add a new contact by clicking +New Contact. Multiple contacts can be linked to a pre-consultation.
-
Select the role(s) that applies to the contact, then click Apply
- Click Next
-
- Details
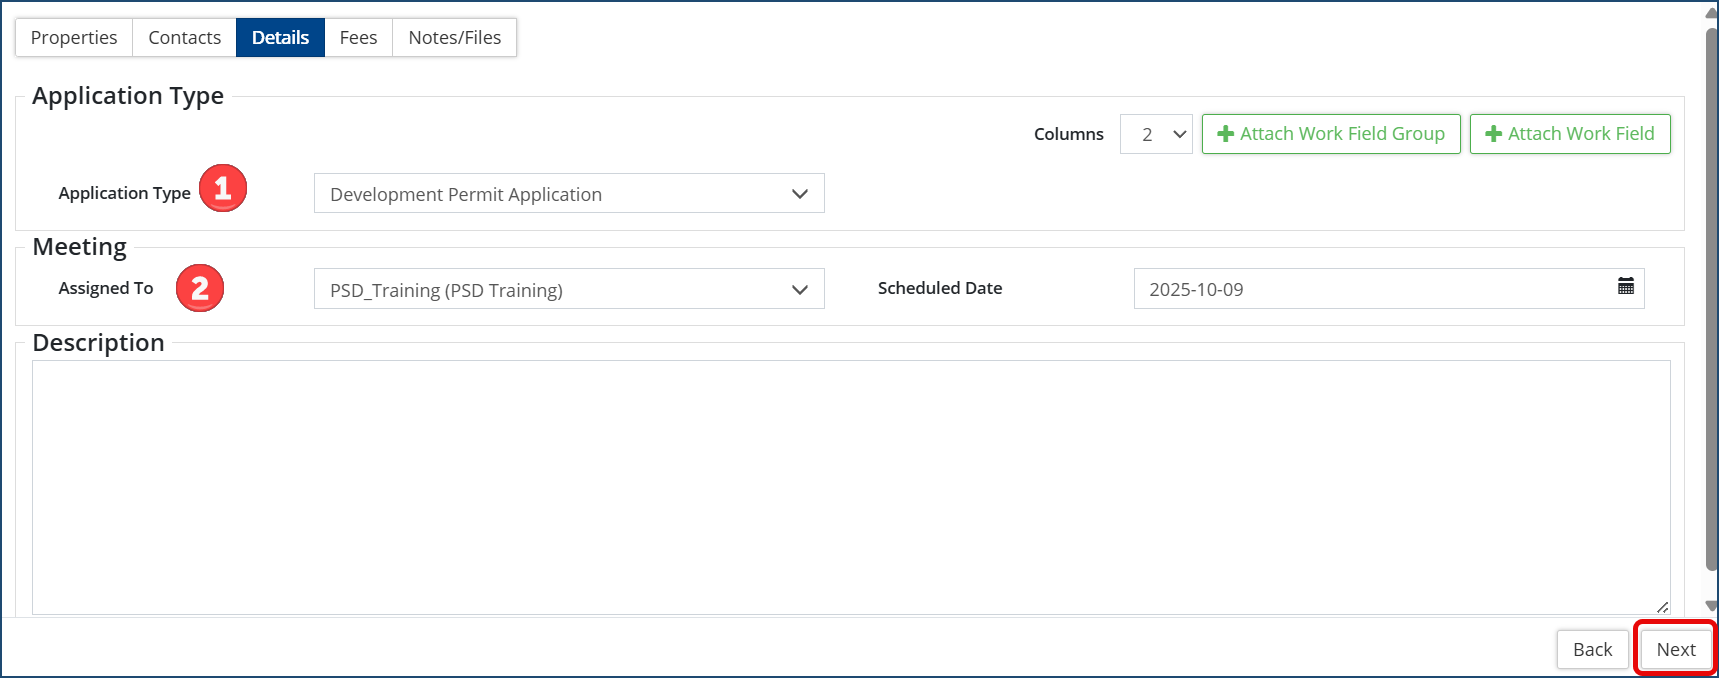
- Select the Application Type ❶. If applicable to the application type selected, complete and/or attach any additional Work fields or Work field groups to the application
- Assign the Meeting ❷ to a Citywide user from the drop down menu and select the Scheduled Date
- Optional: Enter a description
- Click Next
- Fees
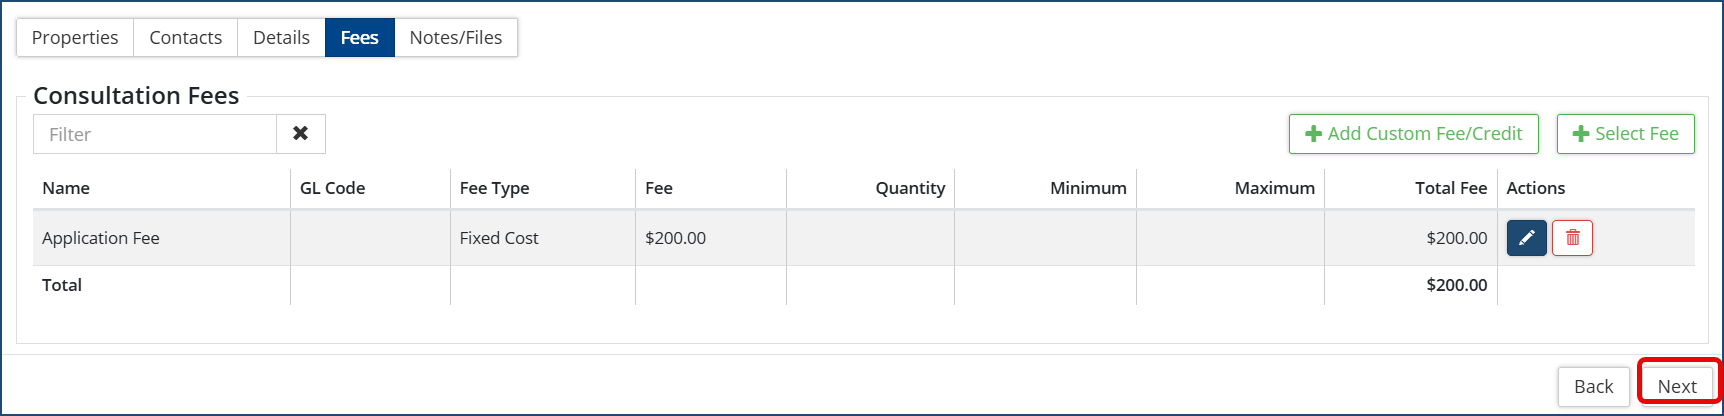
- Click +Select Fee to add a fee to the applications. Search or filter from the pre-defined list of fees and select OR click +Add Custom Fee/Credit and complete the fee info.
- Click Next
- Notes/Files
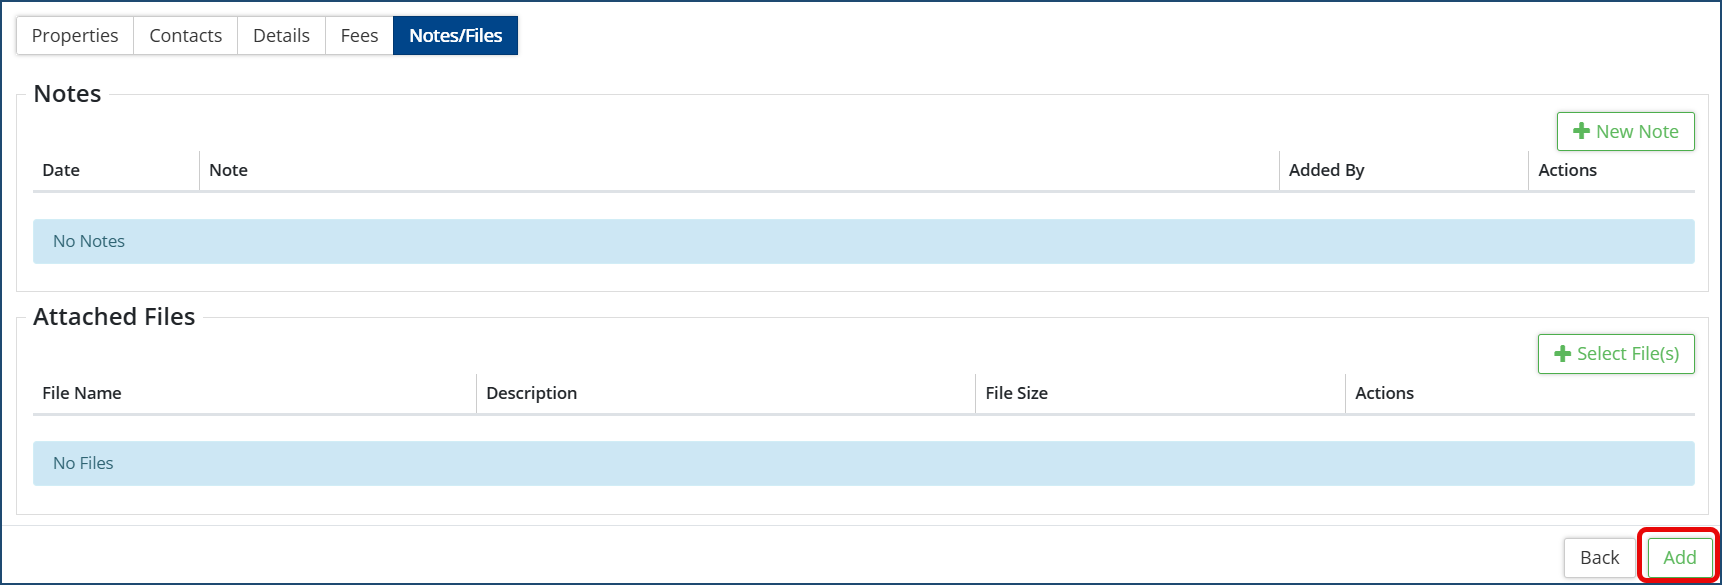
- Click +New Note or +Select File(s) to add any notes and to attach files to the pre-consultation.
- When attaching a file, locate the file from your computer to upload or Drag & Drop a file onto the Select File area.
- Enter a Description (optional) and click Upload File.
- Files can be downloaded from this page by selecting the file(s) and clicking Download Selected.
- Then click Add. The Pre-Consultation record appears with the information submitted.
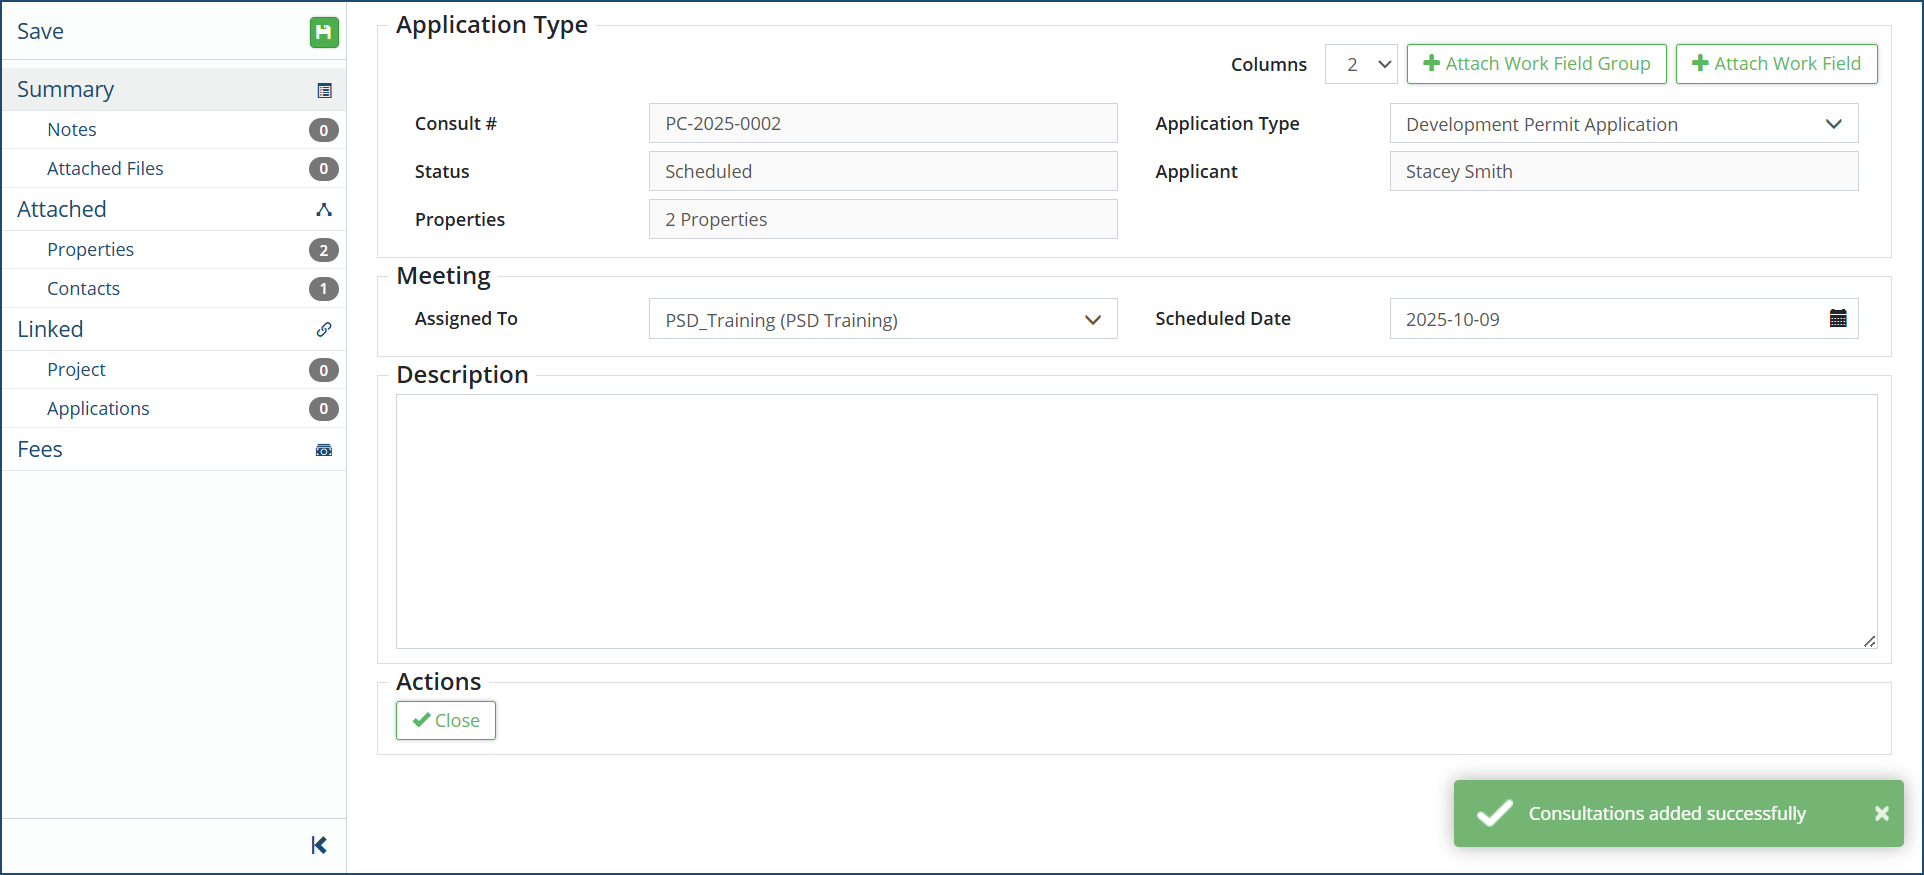
- Information can be viewed or edited as needed by selecting the desired section on the left affiliate panel.
- Click Save if any changes are made.
- Click +New Note or +Select File(s) to add any notes and to attach files to the pre-consultation.
Once the pre-consultation is added to the grid, it is assigned an auto-generated Consult #. Click on the Consult # to access the Pre-Consultation Details page which displays all relevant information. If desired, use the Advanced Filter options to filter the grid by Application Type, Status or Project. 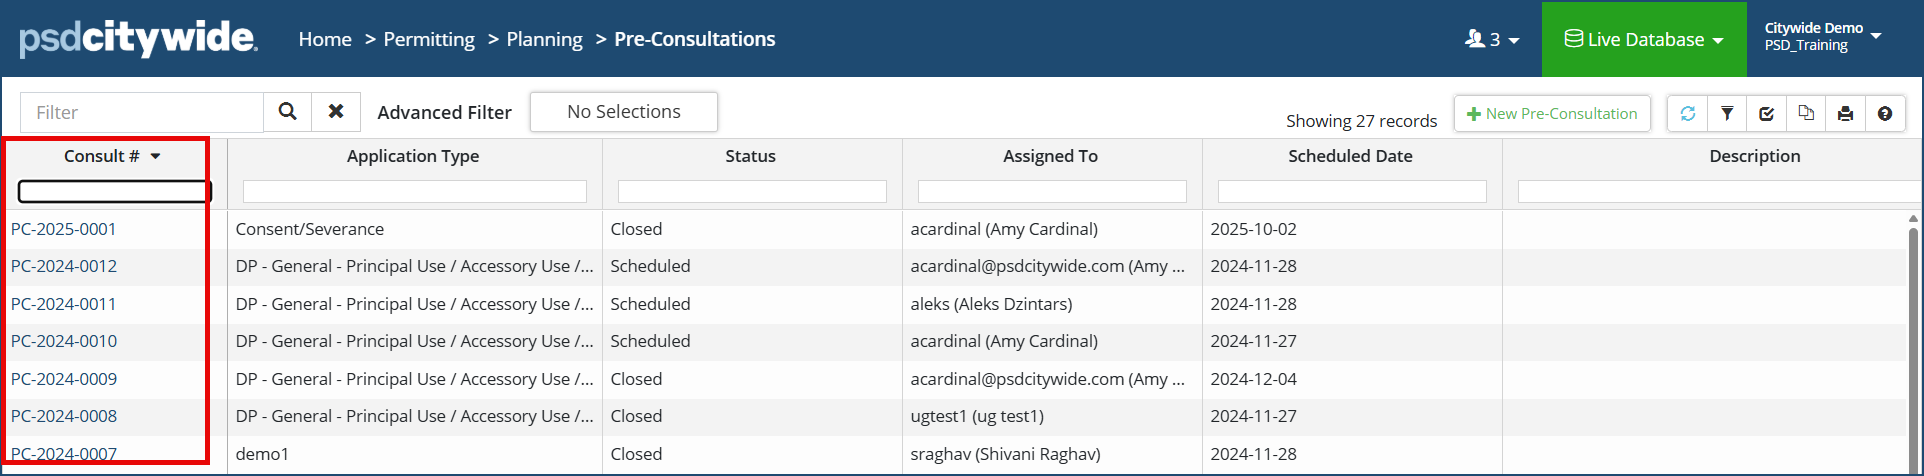 The left navigation affiliate panel provides access to all the linked elements such as Notes, Attached Files, Property, Contact etc.
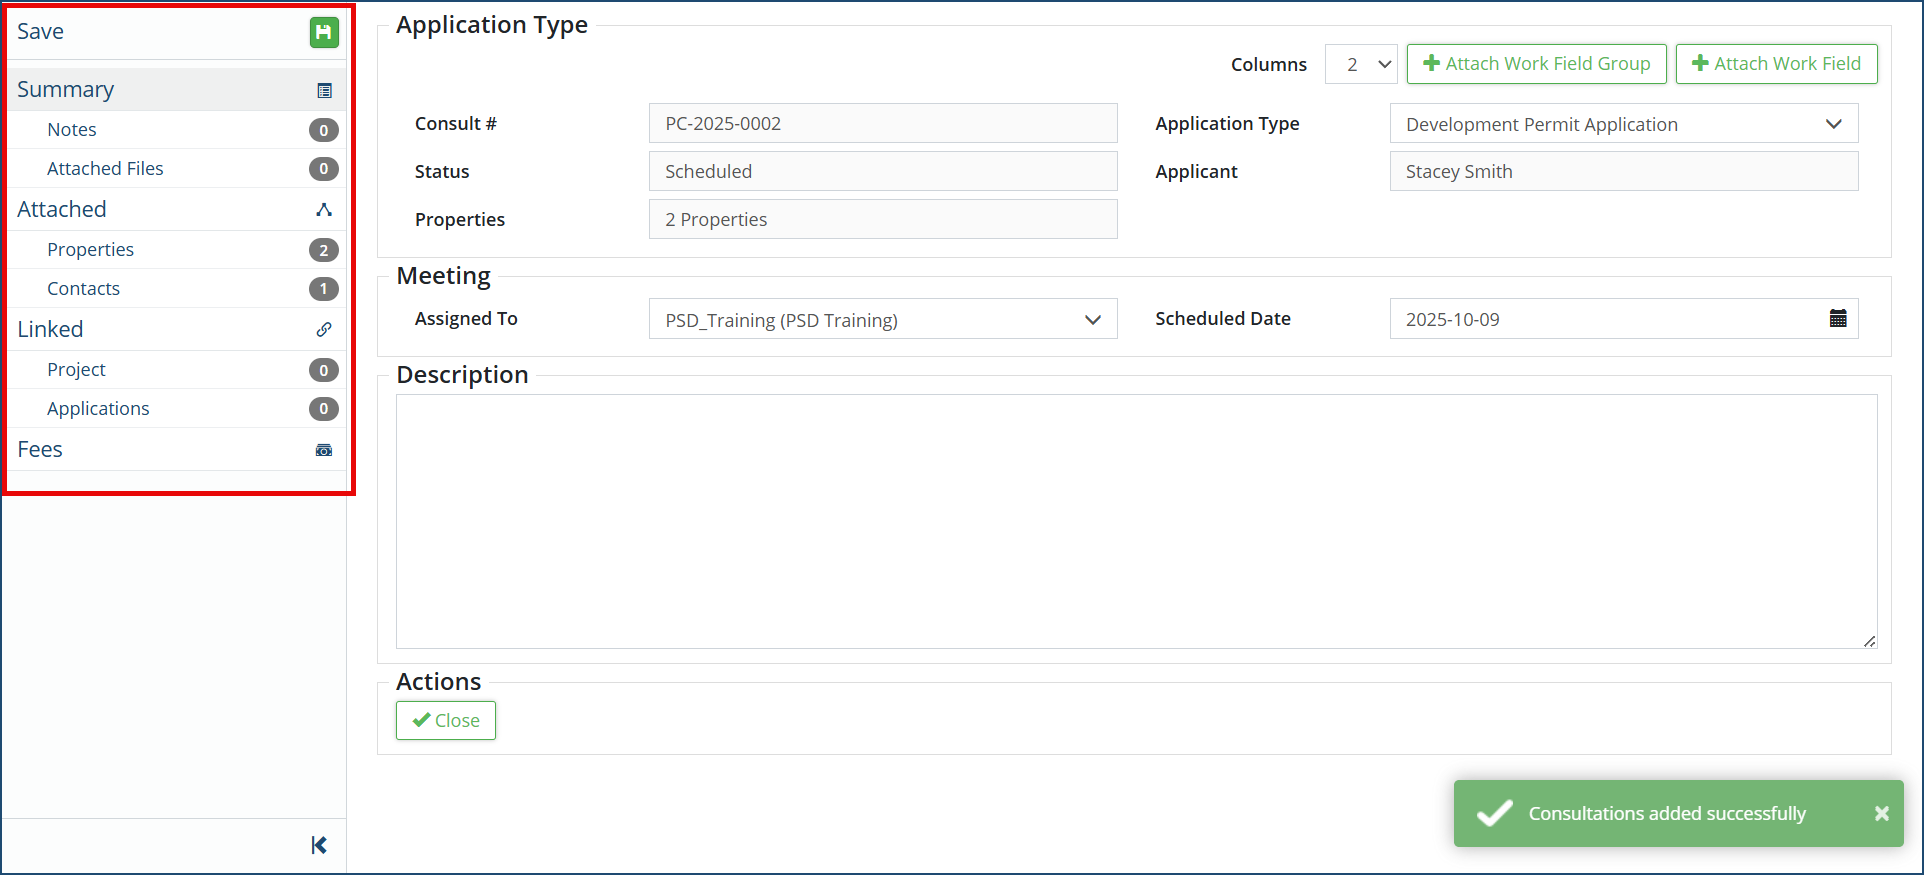
To edit any information in the Pre-Consultation record, select the desired option and make the necessary edits/changes.
Properties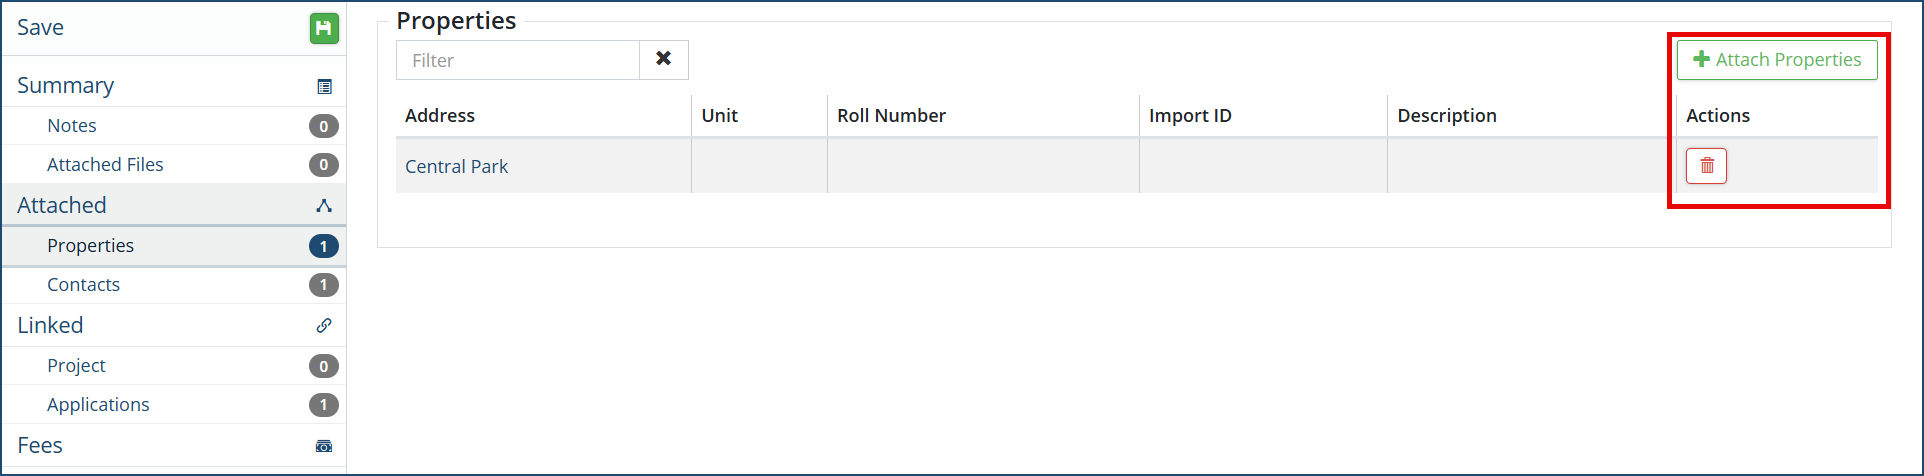
Details of the attached property (or properties) will be displayed here. A property can be deleted by clicking the Trash Can icon or another one can be attached to the pre-consultation by clicking +Attach Properties.
Contacts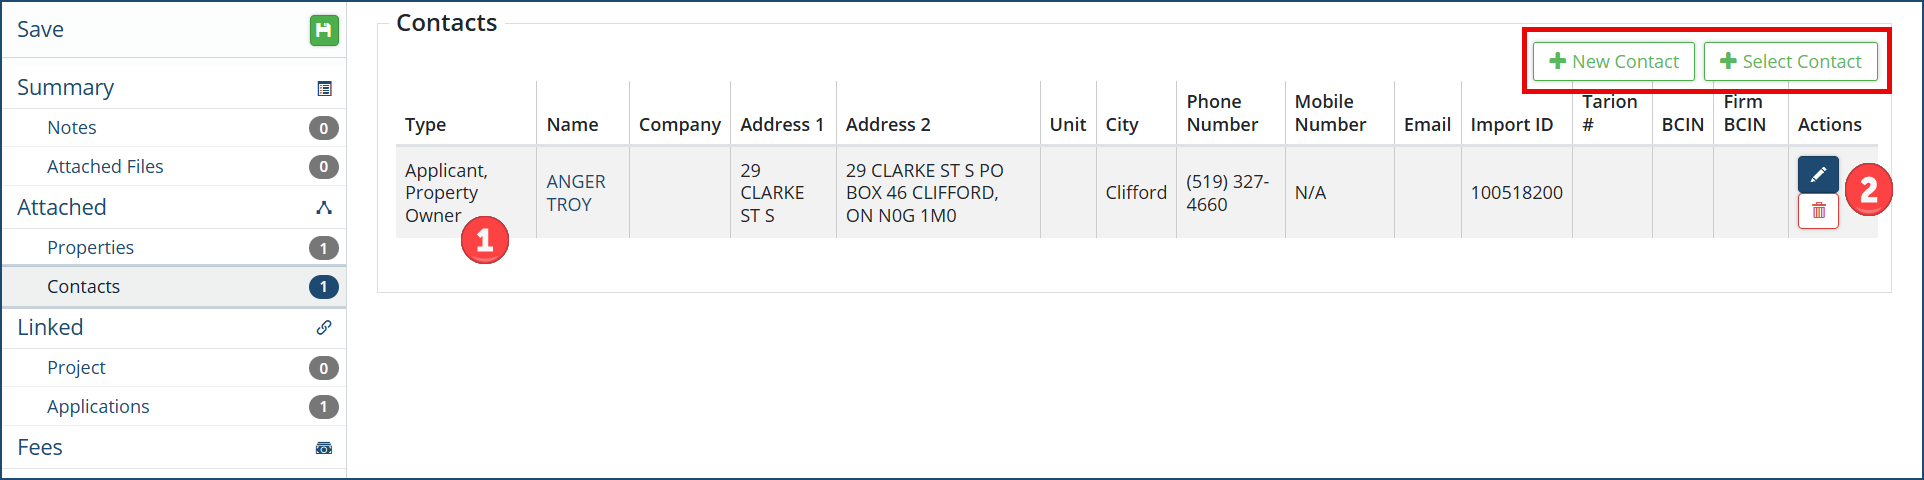
Details of the attached contact(s) will be displayed along with the Role of the contact (Applicant, Owner, etc.❶). A contact can be edited by clicking the pencil icon ❷ or deleted by clicking the Trash Can icon or additional contact(s) can be attached to the pre-consultation by clicking +New Contact or +Select Contact
Project
A pre-consultation may belong or be categorized as part of a Project. In that case, the linked Project will be displayed here.
Applications
A new Planning application can be created from a Pre-Consultation in case the applicant submits an application to the Planning and Development department.
To create a linked application, click on + New Planning Application. The Add Planning Application wizard will open and the property, contact and application type will be carried over to the Planning application.
A linked planning application may also be created from the Summary page by closing the pre-consultation. See Close ❶ option under Actions.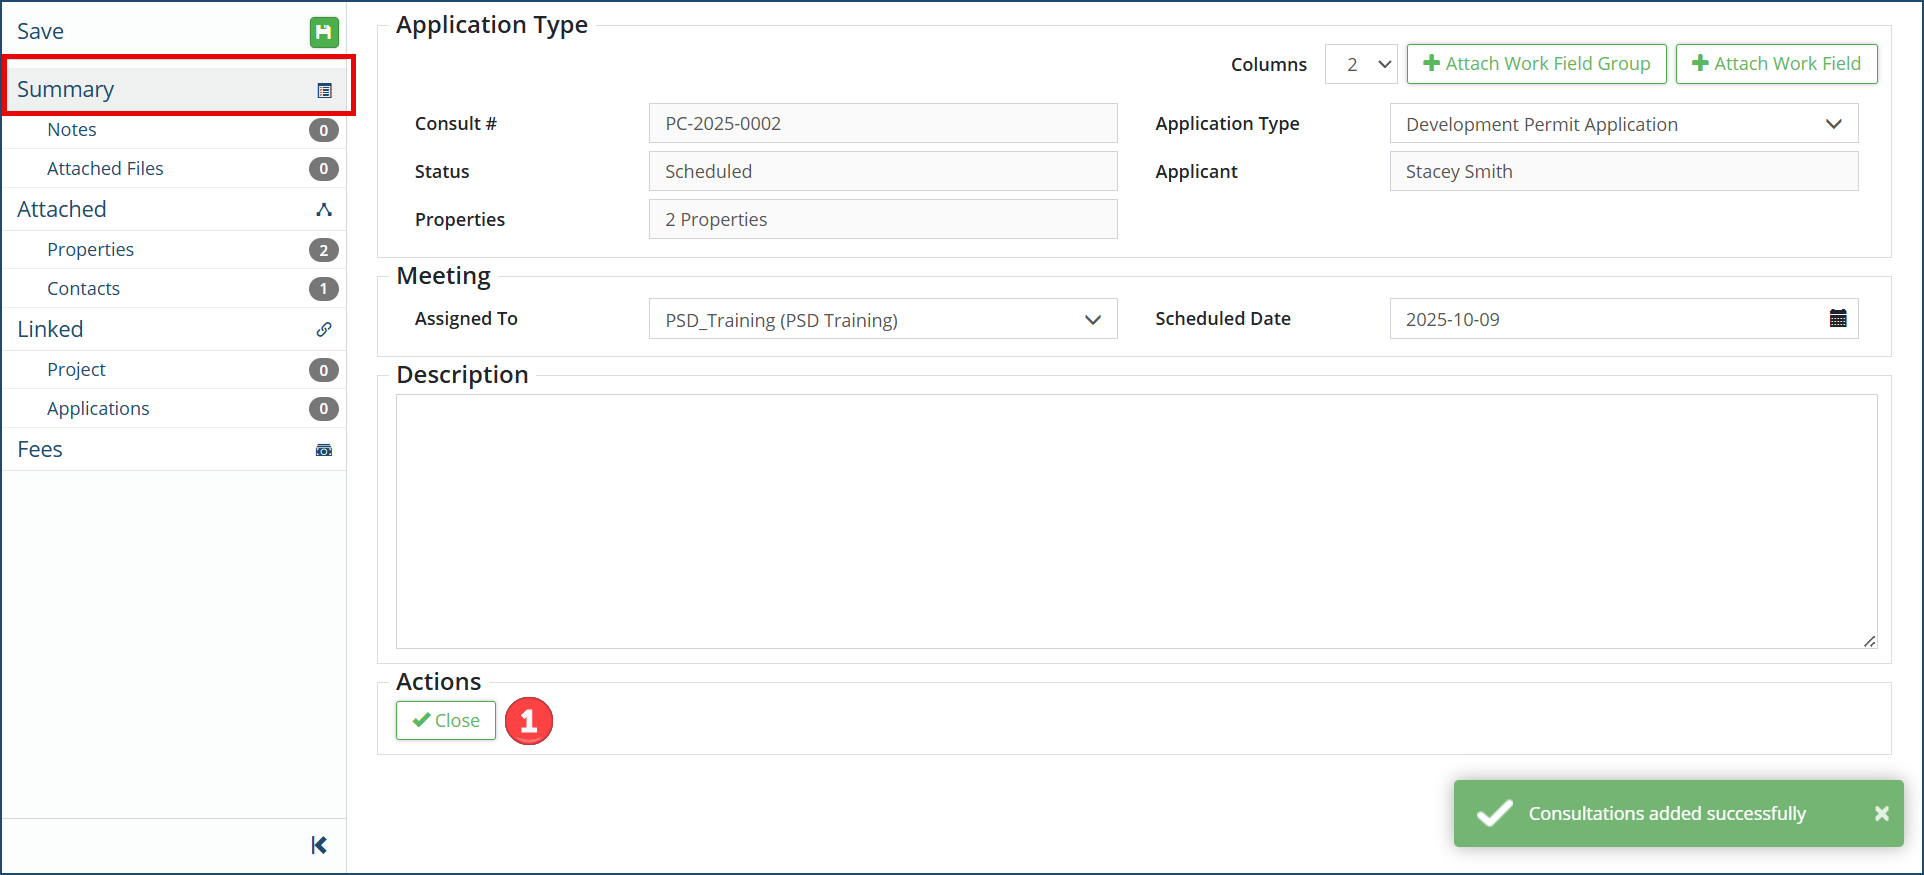 Once Close ❶ is clicked, the next Action available is + New Planning Application.
Fees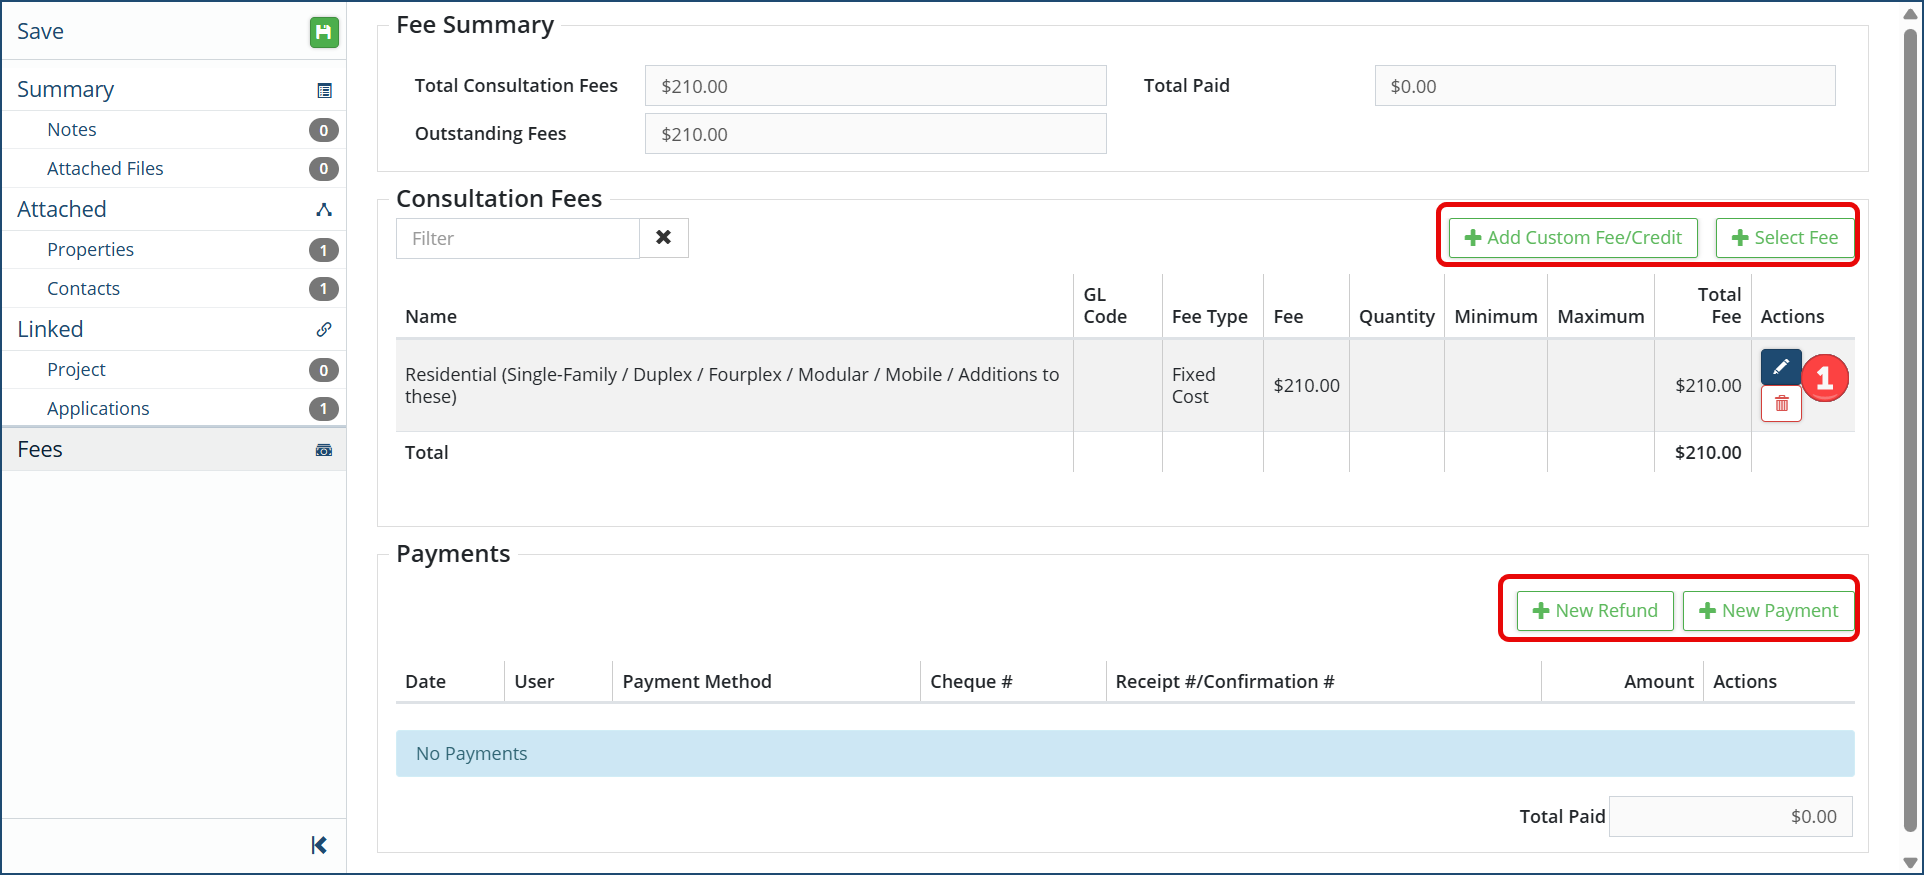
The fee summary of any consultation fee applied and payment received will be displayed here.
- Click +Select Fee or +Add Custom Fee/Credit and complete the fee info to add a fee to the applications. Click the pencil icon or trash can icon ❶ to make changes or remove a fee.
- Click +New Refund or +New Payment to add a payment or refund to the pre-consultation record.
Click Save at the top left of the affiliate panel if any changes are made.


