
Overview
Planning applications and related information can be organized and grouped by Project. Multiple applications, pre-consultations, properties, contacts, notes and files can grouped together within a project - this keeps all information organized and can be accessed all from one project. To view Projects in the system:
Navigate to Home > Permitting > Planning > Projects
Add a Project
Users with the appropriate permissions can create appeals from the Appeals grid. Click +New Project ❶
- Enter a Project Name and Description
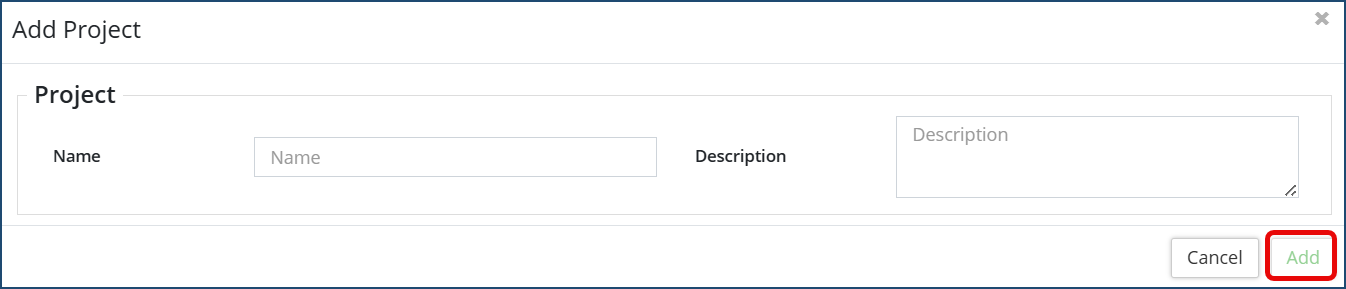
- Click Add
Once the project is added to the grid, it is assigned an auto-generated Project #. Click on the Project # to access the Project Details page which displays all relevant information. If desired, use the Advanced Filter options to filter the grid by Application Type, Status or Project.

On the Project details page, to add, edit or change any information select the desired option on the left affiliate panel and make the necessary edits/changes.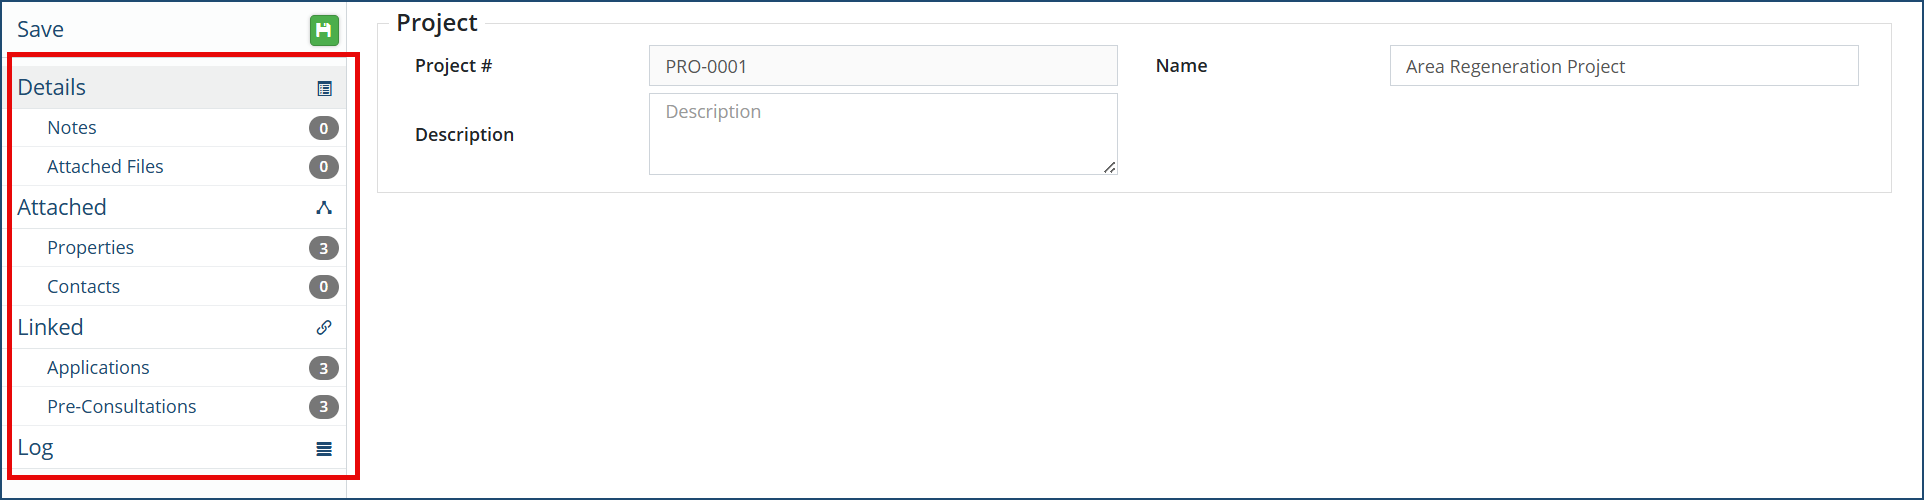
Notes
- Click +New Note
- Enter any notes and then click Add
Attached Files
- Click +Select File(s) to add any notes and to attach files to the project.
- When attaching a file, locate the file from your computer to upload or Drag & Drop a file onto the Select File area.
- Enter a Description (optional) and click Upload File.
- Files can be downloaded from this page by selecting the file(s) and clicking Download Selected.
Properties
Details of the attached property (or properties) will be displayed here. A property can be deleted by clicking the Trash Can icon or another one can be attached to the project by clicking +Attach Properties.
Contacts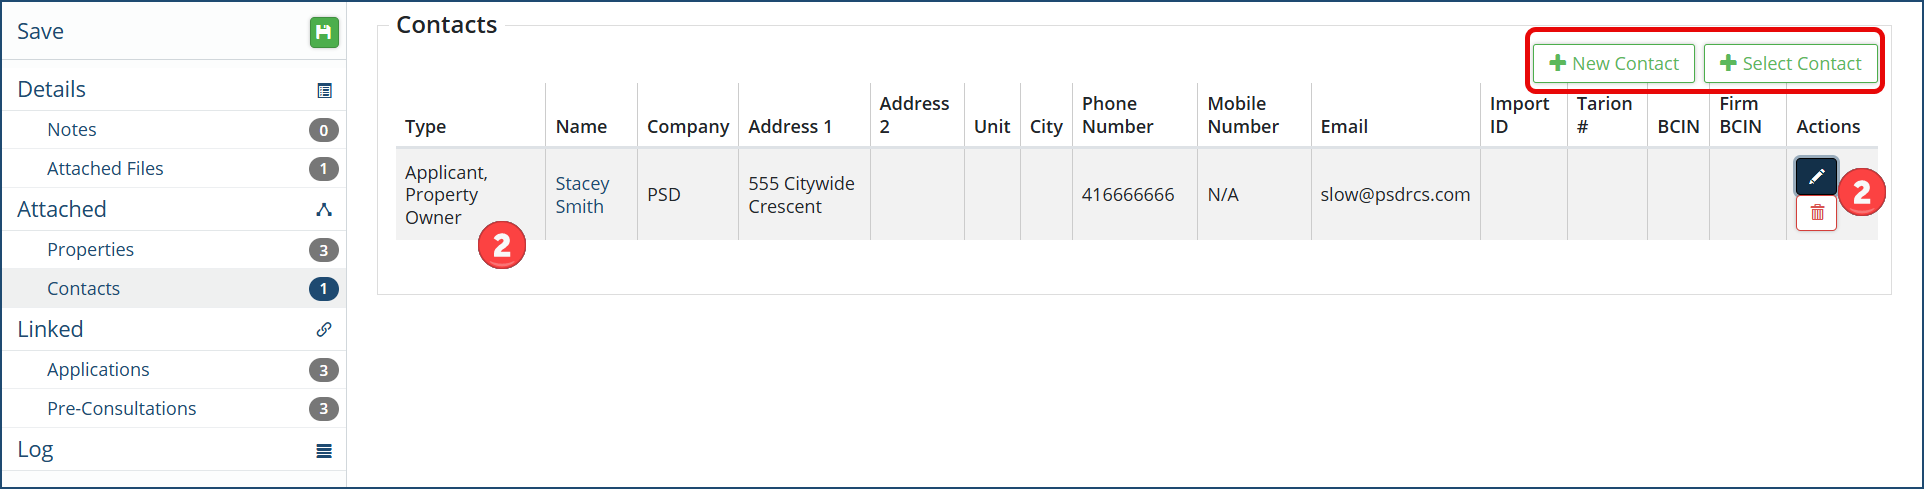
Details of the attached contact(s) will be displayed along with the Role of the contact (Applicant, Owner, etc.❶). A contact can be edited by clicking the pencil icon ❷ or deleted by clicking the Trash Can icon or additional contact(s) can be attached to the pre-consultation by clicking +New Contact or +Select Contact
Applications
Any linked applications to this project will appear. To attach a planning application to the project, click +Attach Planning Application.
To create a new planning application to automatically attach to this project, click +New Planning Application. 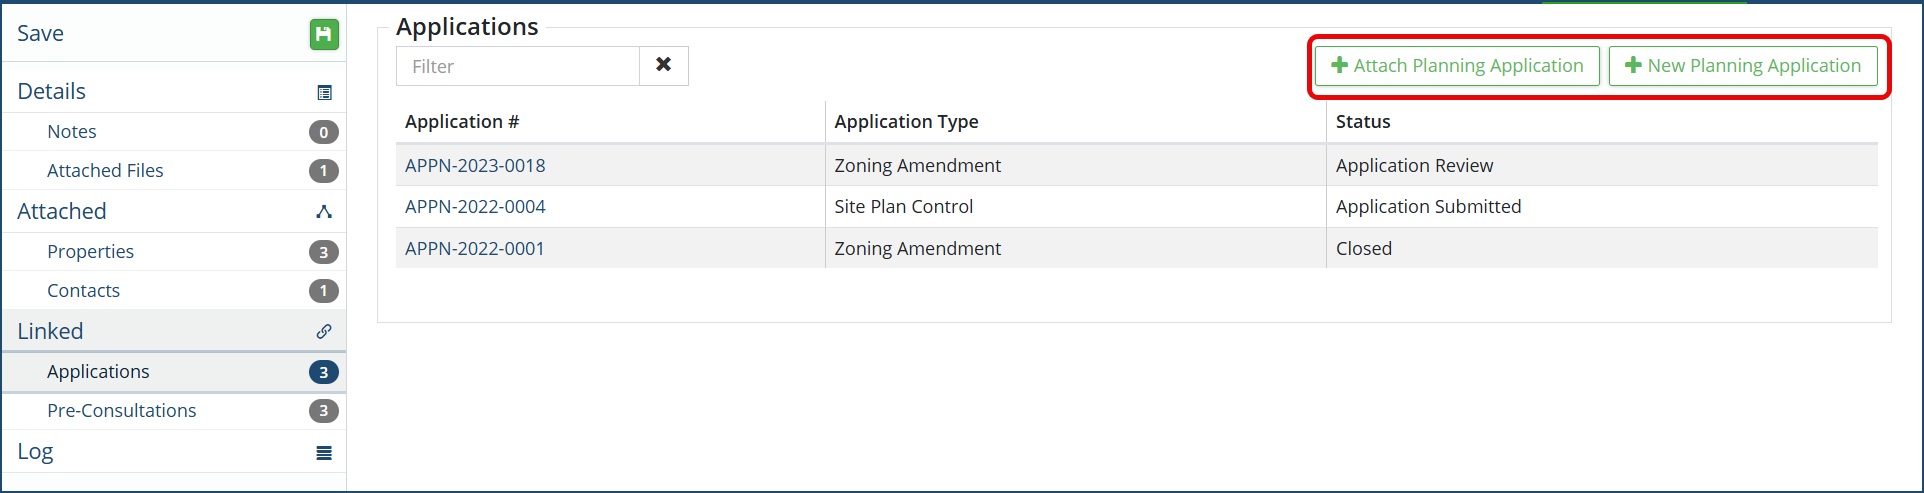
Pre-Consultations
Any linked pre-consultations to this project will appear. To attach a pre-consultation to the project, click +Select Pre-Consultation.
To create a new pre-consultation to automatically attach to this project, click +New Pre-Consultation. 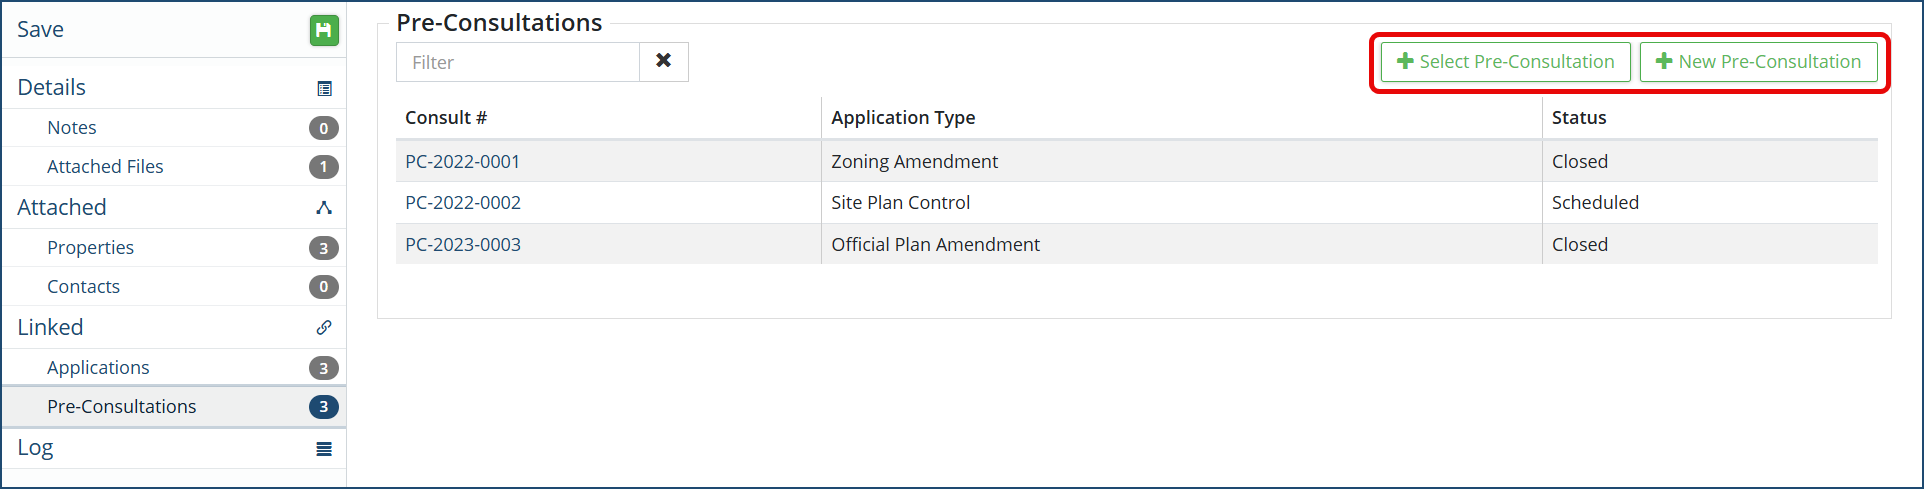
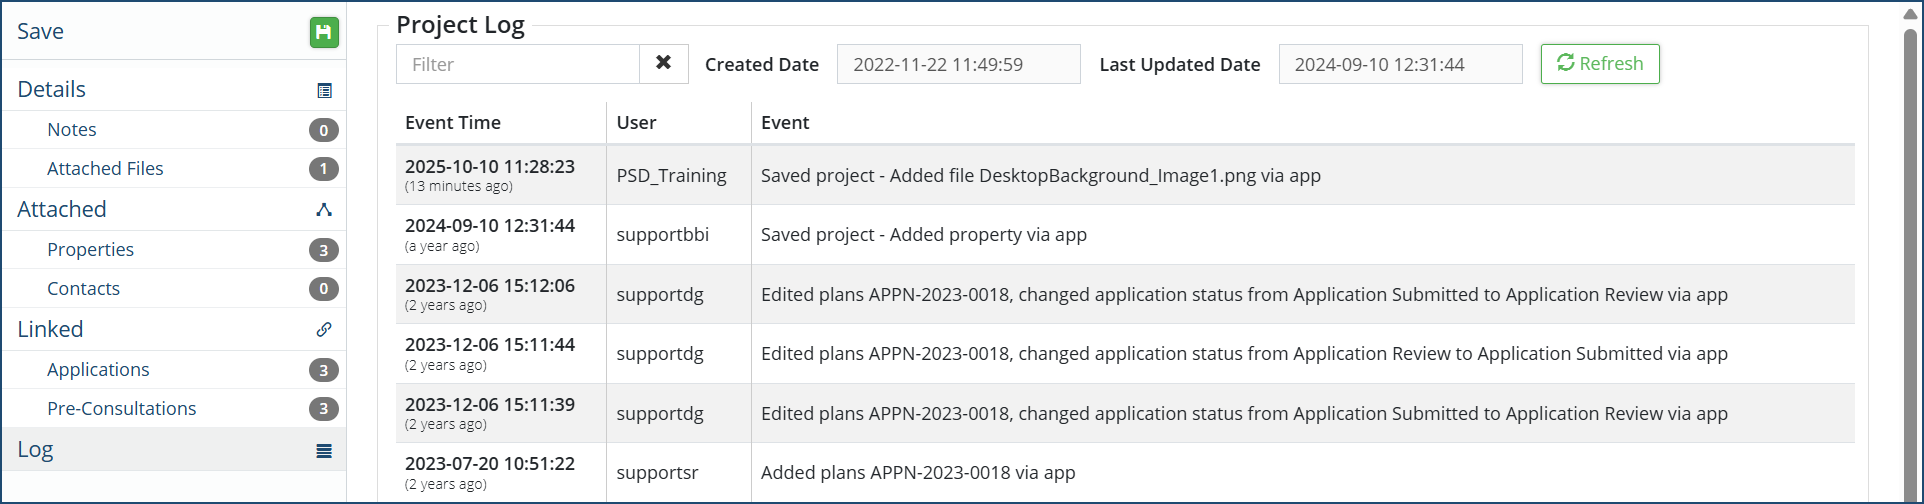
Log
This project log will show all activity to any applications, details, attachments, notes, properties or contacts etc. associated with this project. The project log will detail the event time, user and event that was made.
 Click Save at the top left of the affiliate panel if any changes are made.


